
How do I build a course, and what goes in it?
Maya builds it with you from six short questions. Open Products, then Courses, and press New course. She asks where you are starting from, then turns your answers into a plan of lessons that you approve before a word is written. You can speak your answers instead of typing them.
Updated 28 September 2026
Open Products, then Courses
Courses live under Products. The screen lists what you already have, with how many lessons each one holds and whether it is published. A course here is a sequence of lessons your members work through, and their progress is tracked for you.
Every account has Courses, whether or not you have built a community yet. There is nothing to upgrade and no limit on how many courses you build.
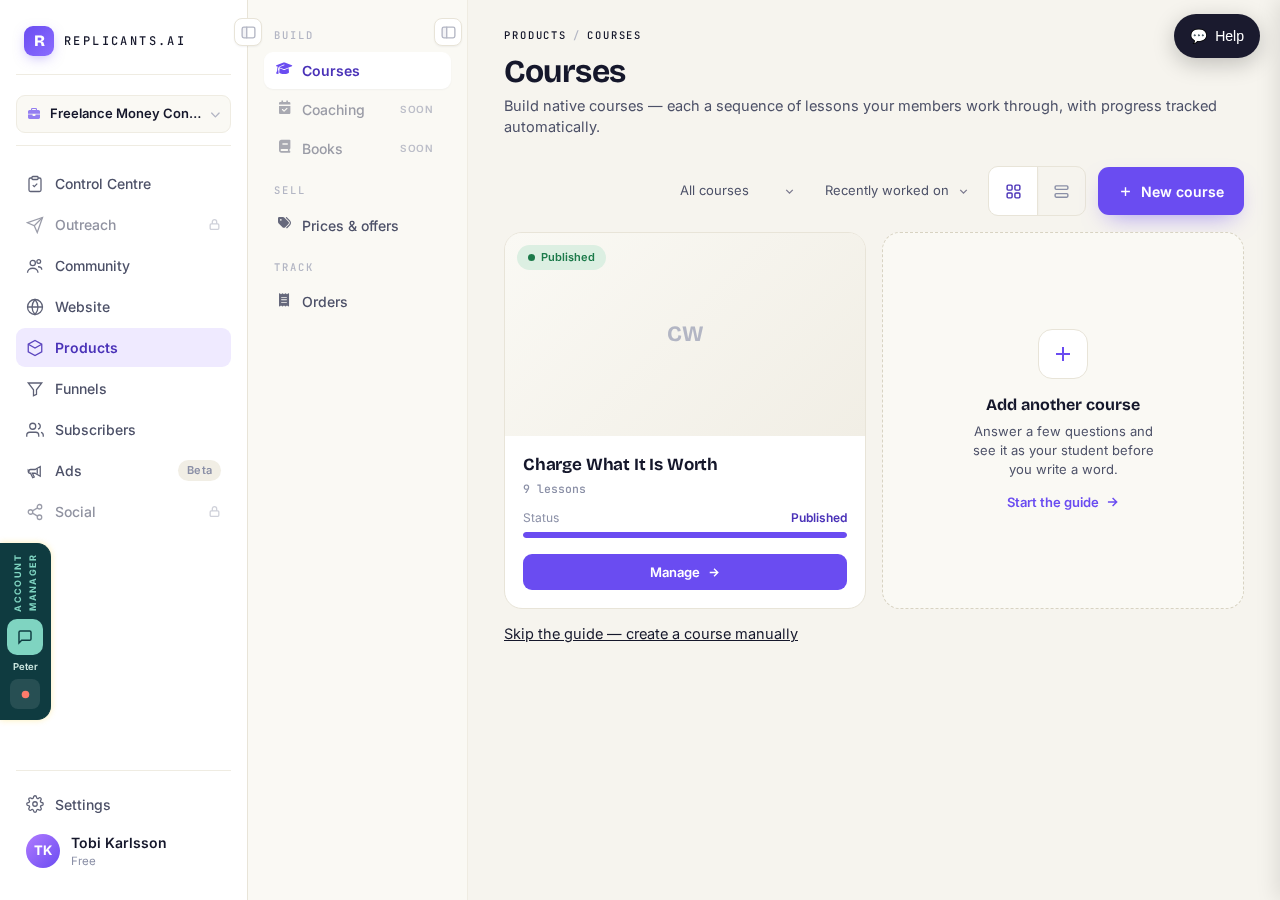
Press "New course", or "Manage" on one you have already started.
Tell her where you are starting from
Three answers, and the one you pick changes what she asks next. "It is all in my head" is the normal one and it is not a lesser starting point: she asks you questions until it is out. The other two are for when you have slides and recordings to bring, or a finished course sitting on another platform.
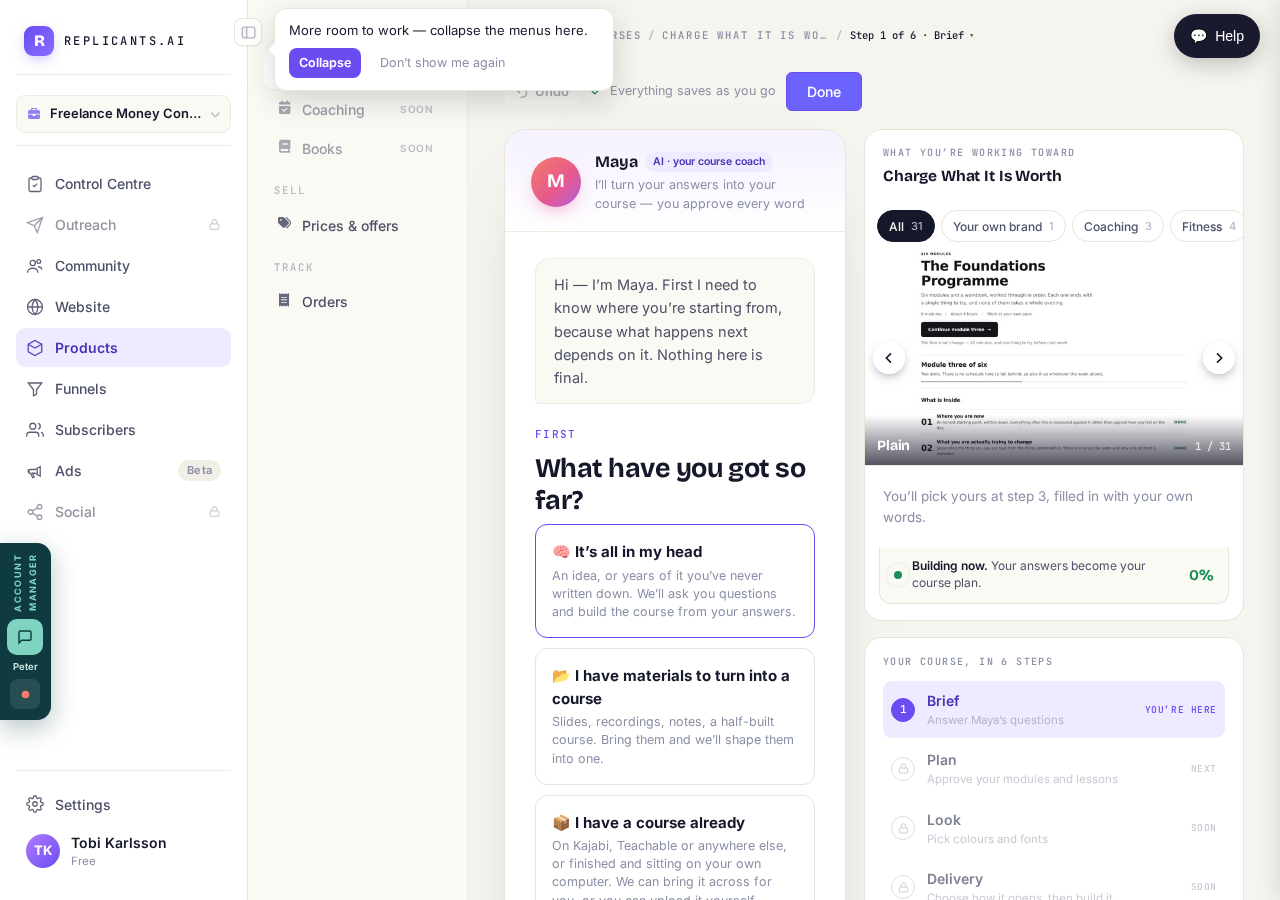
Pick the one that is true. Most coaches pick the first.
Answer six short questions
Six questions, one on screen at a time, starting with what it is about. There is a Speak button beside each, so you can talk your answer instead of typing it. If she already knows something from your website answers, she offers it for you to tap rather than asking twice. The bar at the top always says which of the six steps you are on, so you can leave and come back.
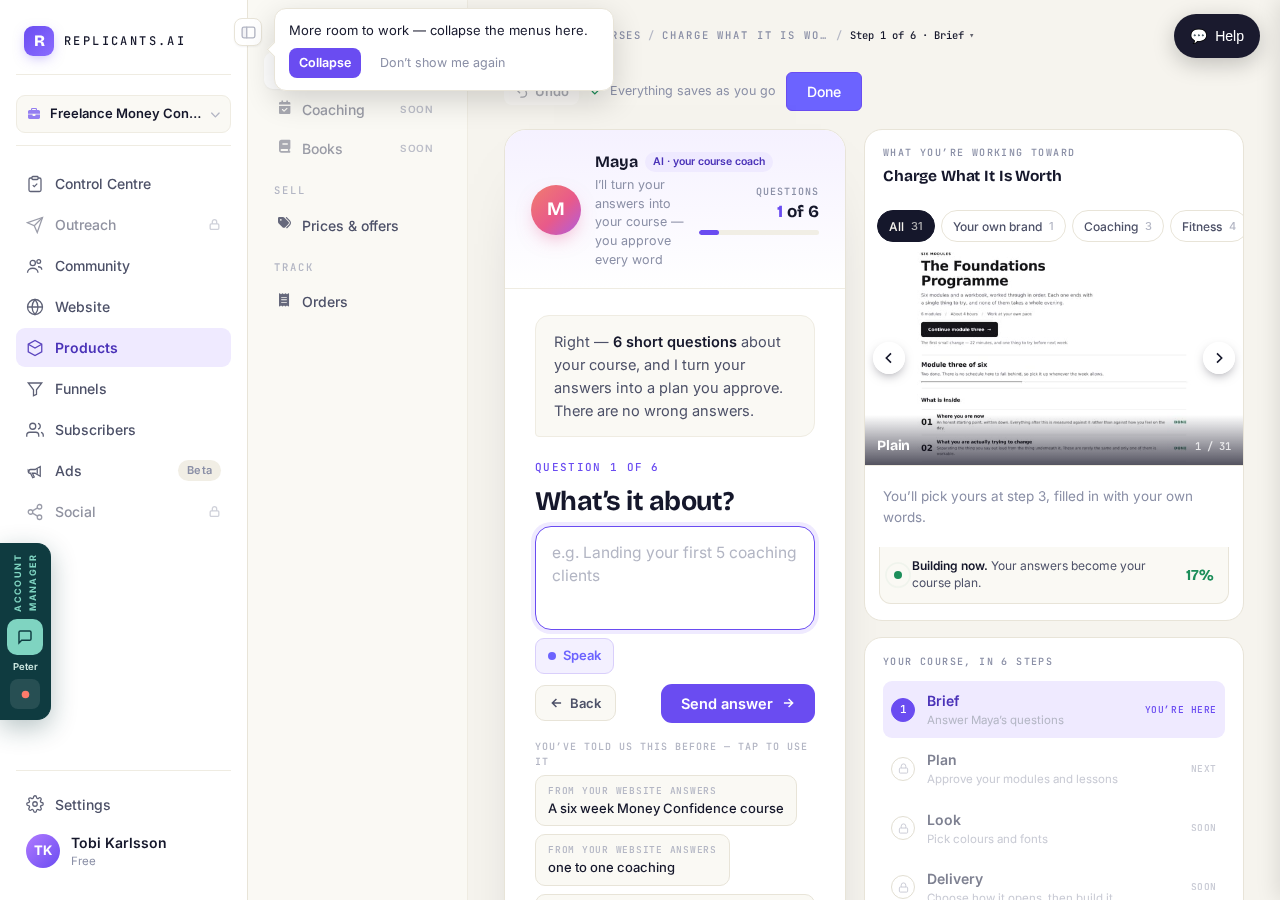
One at a time. Press "Speak" to say it out loud instead of typing.
Read the plan before she writes anything
She turns your answers into a running order of lessons, and stops. This is the moment to move things, take things out, or tell her the shape is wrong. Nothing has been written yet, so changing your mind here costs nothing. Only once you approve the plan does she write the lessons, and you approve those the same way.
The plan first. The lessons are written after you agree it.
Set the price on the course's Selling tab
Open the course and press its Selling tab. Choose Paid, Free, Community members or After a wait, and set the price. You can save a price before Stripe is connected. It goes on sale once Stripe is joined up.
Open your course from here. The price is on its Selling tab.
Related articles
How do I add, move or rename modules and lessons in my course?
Every course has a plan screen where you change its shape: add a module, move one, or rename a module or a lesson. It takes about two minutes.
How do I choose which courses show on my course list?
Your course site's main address lists your live courses as cards, one per course. You choose which ones it shows, with one tick box per course. About a minute.
How do I email the students on my course?
Open your course, go to Students and press Email your students. Each student gets your words with their own first name, and an Open the course link that signs them straight in, with no password. About three minutes.